



Creating regular backups is one of the most important things you can do to protect your WordPress website. A backup allows you to recover your site if an update fails, a plugin causes an error, your website is compromised, or you accidentally delete important content.
One of the easiest tools for creating and restoring complete WordPress backups is All-in-One WP Migration. The plugin can export your website’s database, media files, themes, plugins and settings into a single file that you can download to your computer.
It is also a useful solution when you need to move a WordPress website from a development environment or subdomain to its final domain.
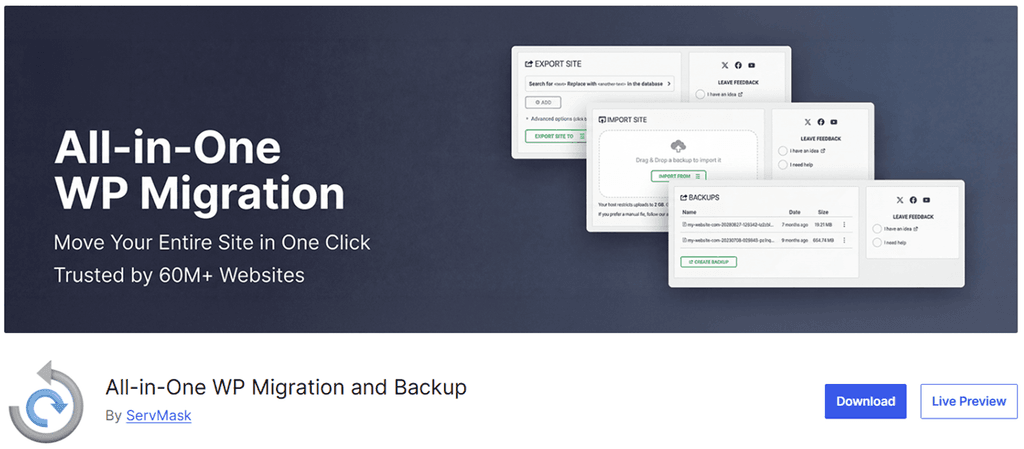
The main advantage of All-in-One WP Migration is its simplicity. You do not need advanced technical knowledge or direct access to the database to create a complete copy of your website.
The process is straightforward:
The exported backup uses the .wpress file extension and contains the main components required to reproduce your WordPress installation.
However, you should always store the downloaded file in a secure location. Do not rely exclusively on a backup stored inside the same hosting account as your website.
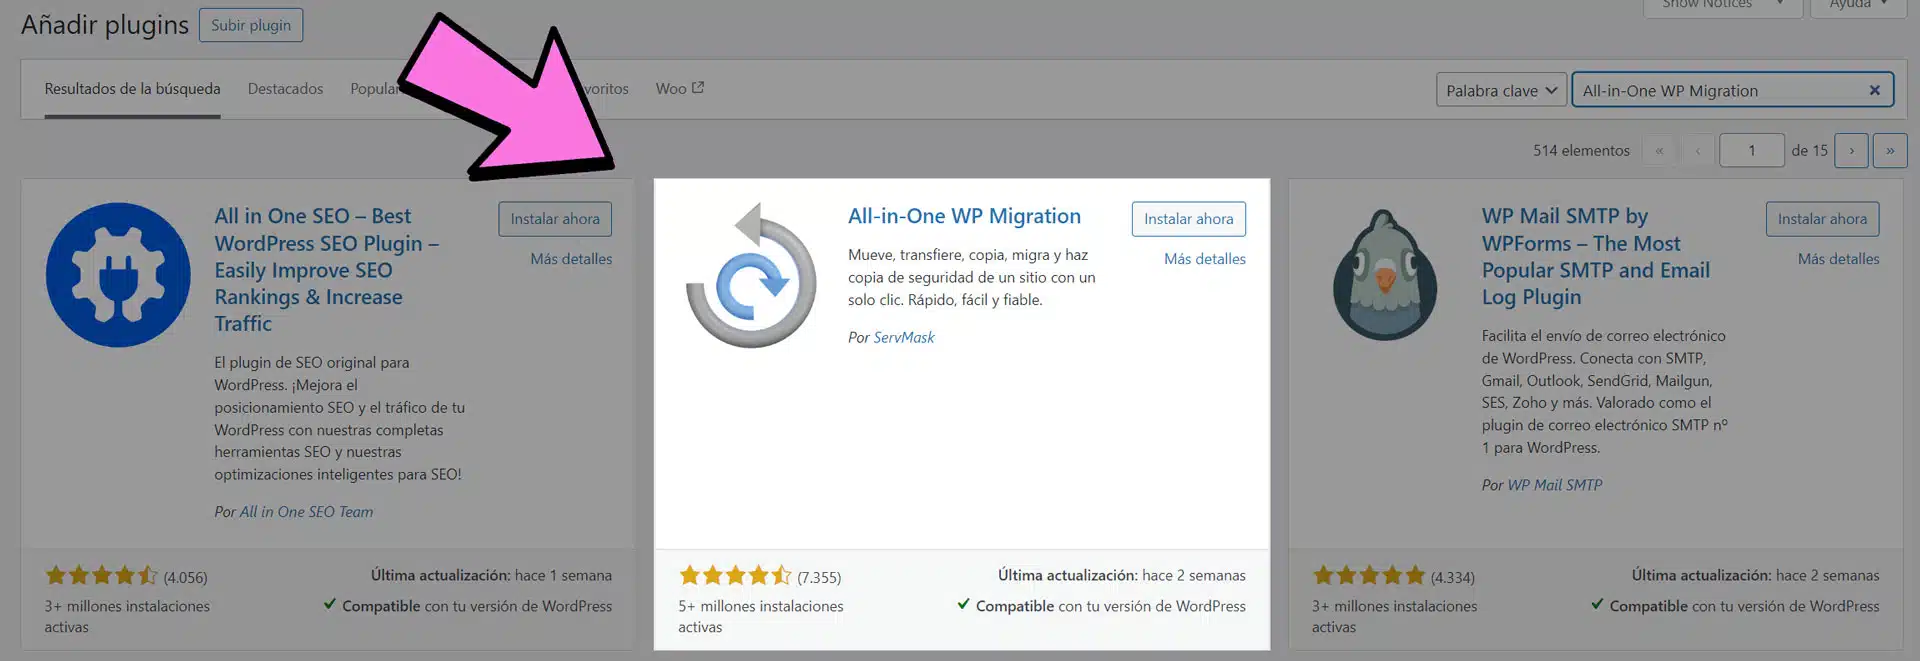
The main All-in-One WP Migration plugin is free and can be installed directly from the official WordPress plugin repository.
The free version allows you to export a complete WordPress website. It can also import backups, although the maximum upload size may depend on the PHP limits configured by your hosting provider.
Large websites may exceed values such as:
upload_max_filesizepost_max_sizeIf your hosting limits are too restrictive, you may need the All-in-One WP Migration Unlimited Extension. This premium extension is designed to bypass most hosting-related upload and execution limits.
If the Unlimited Extension is included with your Cheap Elementor Pro purchase, you can download it from My Account → Downloads.
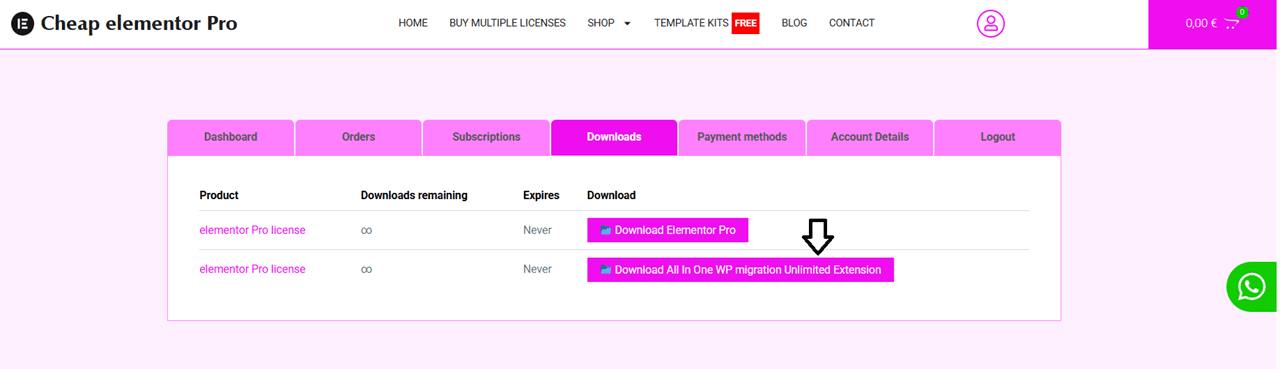
Both the free plugin and the Unlimited Extension must be installed and active for them to work together.
Before starting, make sure that:
A backup created while the website already contains errors may reproduce those same errors when it is restored.
Log in to your WordPress dashboard and go to:
Plugins → Add New Plugin
Search for:
All-in-One WP Migration
Click Install Now and then Activate.
Once activated, a new All-in-One WP Migration option will appear in the WordPress administration menu.
At this point, you can already create and download a complete backup of your website.
If your backup is larger than the upload limit allowed by your hosting provider, install the Unlimited Extension before attempting to restore it.
Download the extension as a .zip file. Do not unzip it on your computer.
In the WordPress dashboard, go to:
Plugins → Add New Plugin → Upload Plugin
Select or drag the downloaded .zip file into the upload area. Then click Install Now and activate the extension.
After activation, visit the Plugins page and make sure both of these plugins are active:
You should also check that the Unlimited Extension is running its latest available version.
To create your backup, go to:
All-in-One WP Migration → Export
You will see an Advanced Options section. These options allow you to exclude certain content, such as spam comments, post revisions, inactive themes or other unnecessary files.
Unless you have a specific reason to exclude something, create a complete backup containing both the files and the database.
Click:
Export To → File
The plugin will begin preparing the website archive. The time required will depend on the size of your website and the performance of your hosting server.
Keep the browser window open until the export is complete.
When the process finishes, click the download button and save the resulting .wpress file to your computer.
Use a clear filename that includes the website name and backup date. For example:
mywebsite-backup-2026-10-09.wpress
For additional protection, save a second copy on an external drive or trusted cloud storage service.
Restoring a backup replaces the current content, database, users and settings of the destination website. Only perform this process when necessary and after creating a copy of the website’s current state.
Before restoring, confirm that you have:
.wpress file.To begin the restoration, go to:
All-in-One WP Migration → Import
Drag the .wpress file into the import area or click the button to select it from your computer.
The plugin will upload and process the archive. Depending on its size, this may take several minutes.
Do not close the browser, refresh the page or navigate to another section while the restoration is running.
You will be warned that the existing website content is going to be replaced. Confirm the operation only after checking that you selected the correct backup.
When the import finishes, you may need to log in again. Remember that the imported database also restores the users and passwords from the original website. Therefore, you should use the administrator credentials belonging to the website contained in the backup.
Finally, go to:
Settings → Permalinks
Click Save Changes without modifying anything. This refreshes the WordPress permalink rules and can prevent links from returning 404 errors.
Although All-in-One WP Migration is designed to simplify the process, an import can sometimes stop or fail. These are some of the most common causes.
If the backup exceeds your hosting provider’s PHP upload limit, WordPress may reject the file before the import starts.
You can ask your hosting provider to increase the relevant PHP limits or use the Unlimited Extension.
The server needs enough available space for the uploaded backup and the temporary files created during extraction.
A website backup may require significantly more temporary space than the final website itself. Check your hosting storage before starting.
Security plugins can interfere with an import because they monitor file changes, database modifications or login URLs.
Plugins such as Wordfence or tools that change the standard /wp-admin/ address may need to be temporarily disabled before creating or restoring the backup.
Disable them without deleting them, complete the process and reactivate them afterwards.
If the website stops working during restoration, access your hosting file manager or FTP account and open:
wp-content/plugins
You can temporarily rename the folder belonging to the problematic plugin. If you do not know which plugin is responsible, rename the entire plugins folder.
WordPress will treat the plugins as deactivated. Restore the original folder name and reactivate the plugins individually to identify the conflict.
When migrating a website to another server, try to use the same PHP version on both hosting accounts.
Major differences between PHP versions can cause compatibility problems with older themes or plugins. It is also advisable to use a compatible and updated WordPress version on the destination server.
A backup may become corrupted if the export or download was interrupted.
If the file size looks incorrect or the import reports an integrity error, create a new export and download it again using a stable internet connection.
Creating the backup is only the first part of a reliable backup strategy. You should also verify that the file has downloaded correctly and store it outside your WordPress hosting account.
For important websites, keep several recent versions instead of continually overwriting the same backup.
Most importantly, do not wait until your website experiences a problem. Create a fresh backup before updating WordPress, installing major plugins, changing your theme or making significant modifications to the site.
A few minutes spent creating a proper backup can save many hours of work if something goes wrong.